Publish and Install
Up until now, we've been testing our plugin only locally. We've verified that all metrics are registered and values are
updated as expected.
In this section, we'll publish the plugin and install it to MoBro to ensure everything works as intended.
Preparations
To install the plugin on MoBro, we need to publish it and pack it as a .zip file.
Before we proceed, let's make some necessary updates to our .csproj file:
- Versioning: Every plugin must be versioned, so let's set the version to
0.0.1. - Dynamic Loading: Enable
EnableDynamicLoadingto allow MoBro to load the assembly and instantiate the plugin. - Executable Settings: Set
UseAppHostandSelfContainedtofalsesince we don't require an.exefile. - Configuration JSON: Ensure the
mobro_plugin_config.jsonfile is copied to the publish directory, as MoBro needs it.
Here’s how the updated .csproj file looks:
<Project Sdk="Microsoft.NET.Sdk">
    <PropertyGroup>
        <TargetFramework>net10.0</TargetFramework>
        <VersionPrefix>0.0.1</VersionPrefix>
        <Nullable>enable</Nullable>
        <OutputType>Exe</OutputType>
        <EnableDynamicLoading>true</EnableDynamicLoading>
        <UseAppHost>false</UseAppHost>
        <SelfContained>false</SelfContained>
        <ImplicitUsings>enable</ImplicitUsings>
        <Nullable>enable</Nullable>
    </PropertyGroup>

    <ItemGroup>
        <Content Include="mobro_plugin_config.json">
            <CopyToOutputDirectory>PreserveNewest</CopyToOutputDirectory>
            <CopyToPublishDirectory>PreserveNewest</CopyToPublishDirectory>
        </Content>
    </ItemGroup>

    <ItemGroup>
        <PackageReference Include="MoBro.Plugin.SDK" Version="1.0.1" PrivateAssets="all"/>
    </ItemGroup>
</Project>
Publishing the Plugin as a .zip File
Using the MoBro Plugin CLI
The easiest way to publish the plugin is through the MoBro Plugin CLI. Run the publish command from within the project
directory:
mobro publish .
After running the command, you'll notice a new file added to the folder structure:
Plugin.Example
├── bin
├── obj
├── example_plugin_0.0.1.zip
├── Plugin.cs
├── Plugin.Example.csproj
└── Program.cs
That's it! We've created a .zip file for our plugin, which is just 4 KB in size.
Manual Method
This section explains how to publish the plugin without the CLI. You may skip this if you've already used the CLI.
If you prefer not to use the CLI, run the following command from the project directory:
dotnet publish --framework net10.0 --runtime win-x64 --self-contained false --configuration Release -p:DebugType=None -p:DebugSymbols=false -p:GenerateRuntimeConfigurationFiles=false --output ExamplePlugin_v1 .
The above command should create a new folder named ExamplePlugin_v1:
Plugin.Example
├── bin
├── obj
├── ExamplePlugin_v1
|   ├── mobro_plugin_config.json
|   ├── Plugin.Example.deps.json
|   └── Plugin.Example.dll
├── Plugin.cs
├── Plugin.Example.csproj
└── Program.cs
Ensure that the .dll file's name matches the one defined under assembly in mobro_plugin_config.json.
Now, compress everything into a .zip file:
& "C:\Program Files\7-Zip\7z.exe" a -tzip "ExamplePlugin_v1.zip" ".\ExamplePlugin_v1\*"
rm -r .\ExamplePlugin_v1
Don’t have 7-Zip? You can manually compress the folder instead.
Installing the Plugin
With the plugin published, we can proceed to install it in MoBro.
Note: MoBro must be installed and running on your PC.
Using the MoBro CLI
To install the plugin, all it takes is returning to the CLI and running:
mobro install .\example_plugin_0.0.1.zip
For quick testing, you can skip the publish step and install the plugin directly from the project directory:
mobro install .
Using MoBro REST API
This section explains how to install the plugin without the CLI. You may skip it if you've already installed using the CLI.
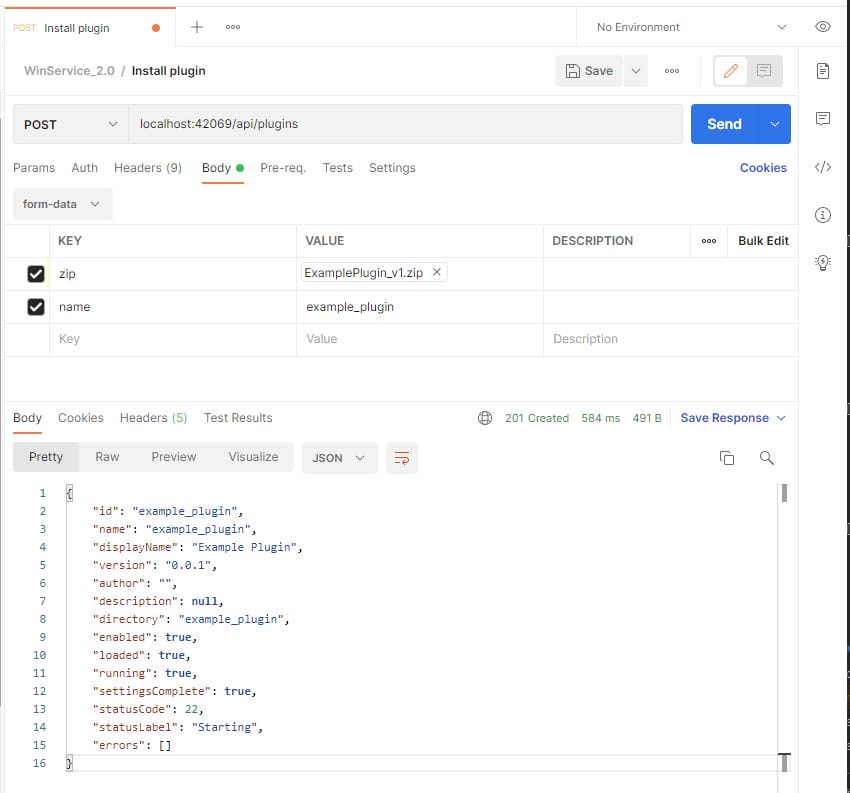
Install the plugin using the MoBro REST API by sending a POST request to localhost:42069/api/plugins with the
following data in the form-data body:
- Unique plugin name: As defined in
mobro_plugin_config.json. - .zip file: The published plugin file.
Here’s how it looks in Postman:
Verify in MoBro
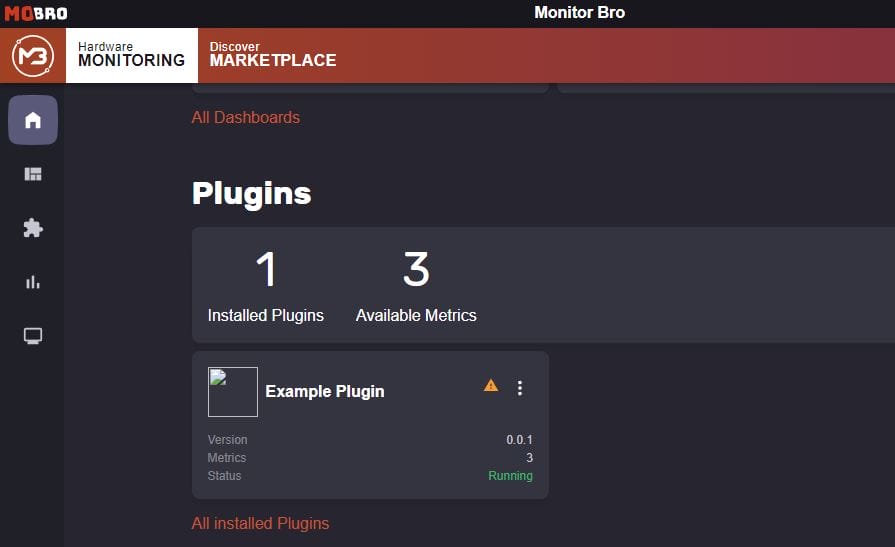
Open MoBro, and you should see a new unknown plugin listed, named "Example Plugin":
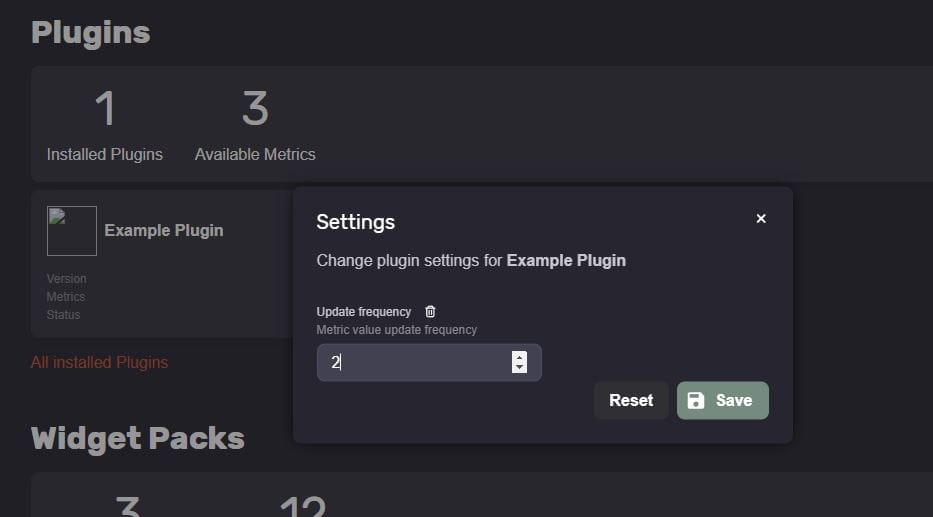
Navigate to its settings, where the "Update Frequency" configuration we set earlier will be available:
Finally, open the Metric Explorer to verify that our metrics are being updated:
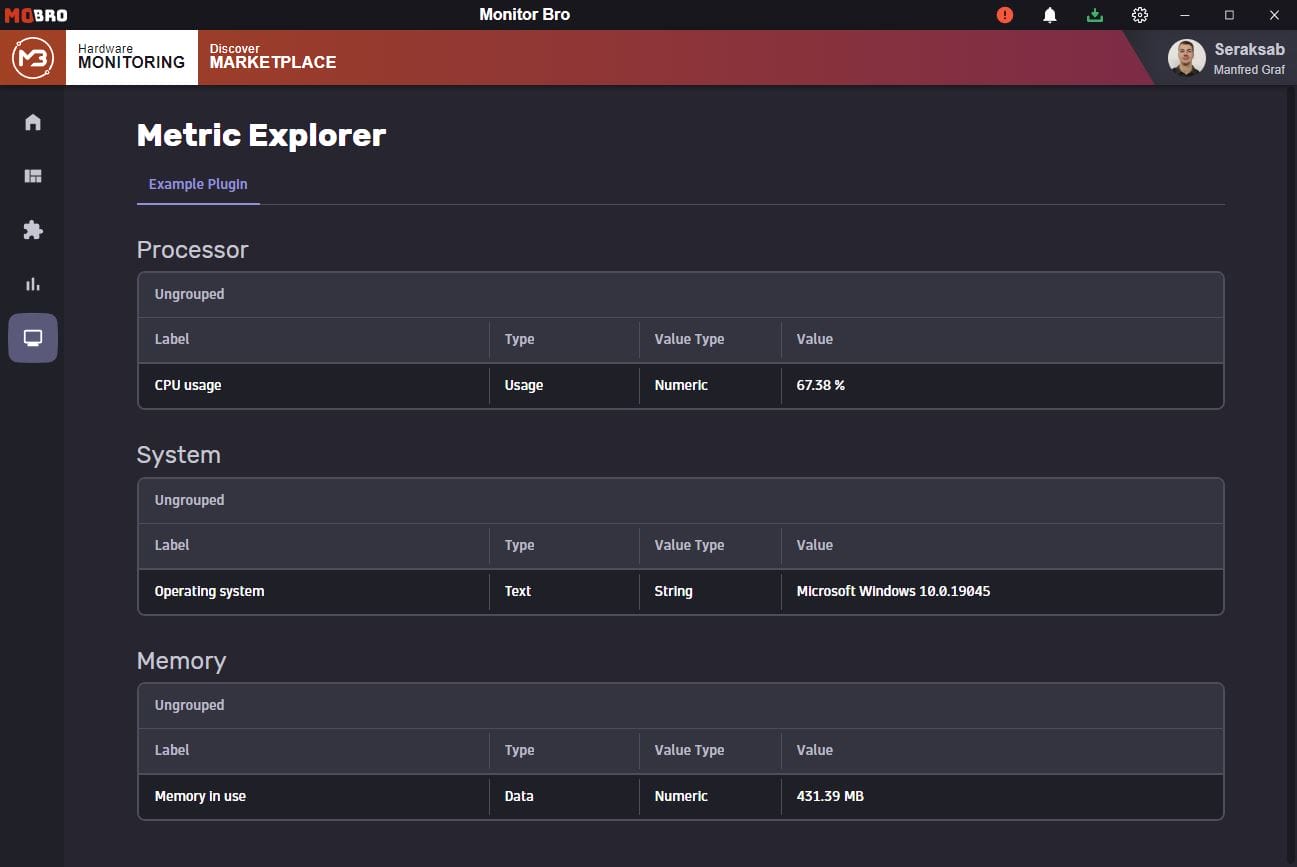
Metric Types and Units
Since we used metric types provided by the SDK (CoreMetricType.Usage and CoreMetricType.Data), the metrics are
displayed with appropriate units.
For instance, memory data (provided in bytes) is automatically converted to a higher unit like MB.
No need for additional configurations—just provide the value!
Learn more under Reference: Metrics.