Testing
This guide explains how to test or debug a plugin. You can either run it locally as a .NET console application or install it temporarily in MoBro for thorough integration testing.
Start Locally
To quickly test or debug a plugin, you don’t need to install it in MoBro. The SDK provides the MoBroPluginBuilder
class, which allows you to run the plugin locally like a typical .NET console application. You can directly provide
plugin settings to the builder for testing. The plugin also exposes functions for interaction, such as applying new
settings.
Local Testing Example
Below is an example Program.cs for testing a plugin locally:
// Create and start the plugin to test it locally
var plugin = MoBroPluginBuilder
  .Create<Plugin.Example.Plugin>()
  .WithSetting("update_frequency", "1")
  .Build();

// Wait for a manual trigger to apply new settings
Console.ReadLine();

// Example: The plugin exposes functions like ApplySettings(...)
plugin.ApplySettings(new Dictionary<string, string> {{"update_frequency", "2"}});

// Prevent the program from exiting immediately
Console.ReadLine();
You can run this like any other .NET console application with the following command:
dotnet run
MoBro Integration
For integration testing, you can install the plugin into MoBro for temporary usage.
Publish as a .zip
Before installation, the plugin must be published and packed into a .zip file.
Using the CLI
The easiest way to publish a plugin as a .zip file is via
the MoBro Plugin CLI. Run the publish command in your project
directory:
mobro publish .
This will create a file named [plugin_name]_[version].zip in the current directory. If needed, specify an output
directory using the --output option (default is the current directory, .).
Using a Batch Script
Alternatively, you can use the command line or a script to publish and package the plugin. Below is an example
publish.bat script for automating the process:
@ECHO OFF
@REM Publish the plugin
dotnet publish^
    --framework net10.0^
    --runtime win-x64^
    --self-contained false^
    --configuration Release^
    -p:DebugType=None^
    -p:DebugSymbols=false^
    -p:GenerateRuntimeConfigurationFiles=false^
    --output %1^
    .
@REM Zip the plugin folder
"C:\Program Files\7-Zip\7z.exe" a -tzip "%1.zip" "%1\*"
@REM Delete the plugin folder
rmdir /S /Q "%1"
You can invoke this script with a single parameter that specifies the name of the folder to publish to:
./publish.bat ExamplePlugin_v1
Install the Plugin
For testing purposes, you can temporarily install the plugin to MoBro. This can be achieved using either the CLI or the REST API.
MoBro must be installed and running on your machine for this step.
CLI Installation
To install a plugin using the CLI, simply run the install command and provide the path to the .zip file:
mobro install .\example_plugin_0.0.1.zip
If you want to test changes quickly and don’t need a published .zip file, you can skip the publish step and install
the plugin directly from your project directory:
mobro install .
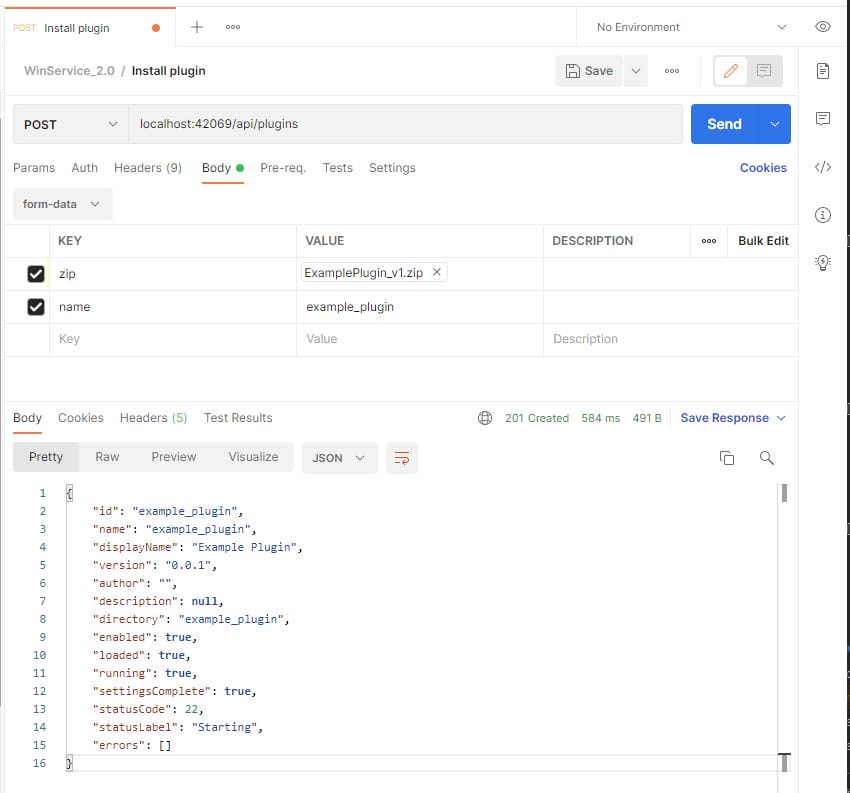
REST API Installation
To install a plugin using the REST API, send a POST request to localhost:42069/api/plugins with a form-data body.
Include the unique plugin name (from mobro_plugin_config.json) and the .zip file.
Here’s an example request in Postman:
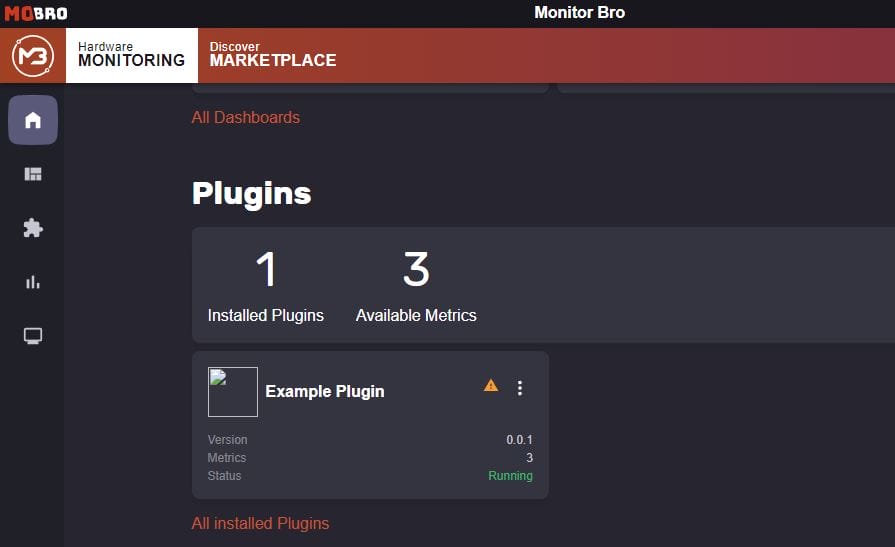
Once installed, the plugin will appear in MoBro as if it were installed from the official marketplace: